| Home > Robots > Alexander > March | |
| March | |
![[March]](or-mar.gif)
The new video transmitter kit also arrived along with its mass-production receiver. The idea this year is to have a number of battery powered receiver/VR goggle packs that we can rent out to the audience, allowing them to join in on the live video feed from the Ax. Dave will be wearing the goggles as he fights with the cutter via a Sony Playstation hand controller (more on that next month.) The Ax is way too complex to drive and fight with by myself, so it's split up. I'll drive and run another weapon; Dave will fight.
I've pretty much been ignoring the base because I wanted to finish the arm first. But this month I'm sure I'll get it driving around the neighborhood; we're looking at 15 MPH with 30% load. Should be zippy enough to be entertaining. The Ag's top speed was 6 MPH.
By the way, if you're building a robot and looking at speed controllers, take a peek at 4QD. I've never used one, so I can't recommend them yet, but they sure sound great from the specification lists.
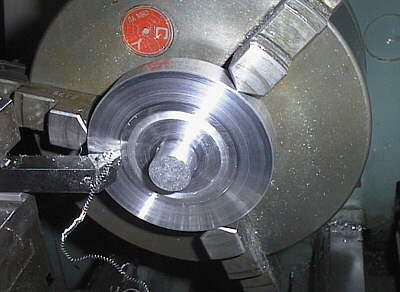 |
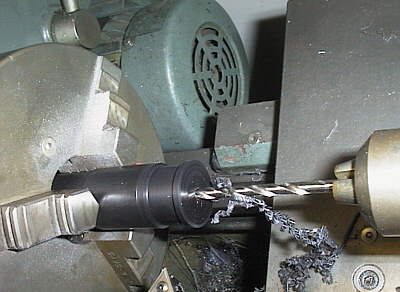
Most of this month is consumed with the final assembly of The Arm. Here I am back at the lathe, forming a part that will couple two taper bearings together. The whole assembly will allow The Arm to pan CW and CCW around the perimeter of the base. Strong actuation and support will allow a "slapping" attack to occur. Speaking of slapping, see the cutting that is spiraling off the part? It grows to about 2 feet long, all coiled up. Not long after I had taken this picture, it whipped around and slapped me on the head. Guess I'd better start wearing a hat in the shop. |
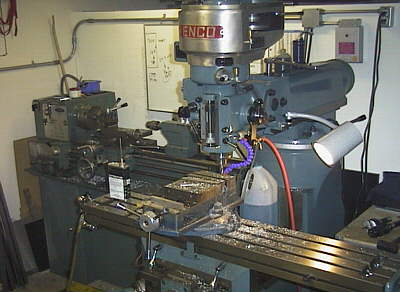 |
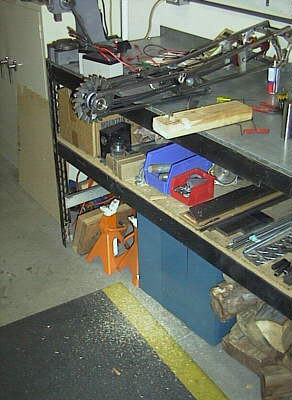
My happy shop. Mill in the foreground, lathe in the background. The electronics wing is toward the left, assembly and welding more left, and recreation (couches, Sony Playstation) around back. |
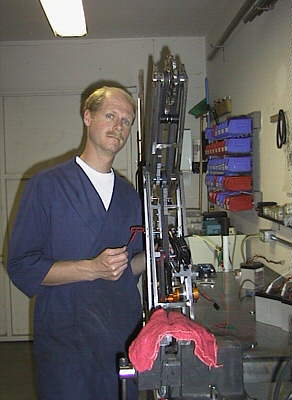 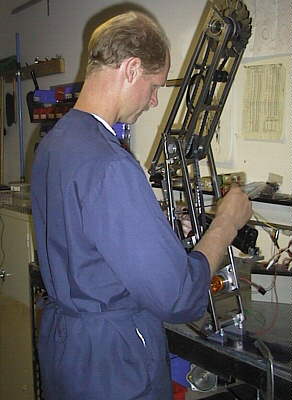 |
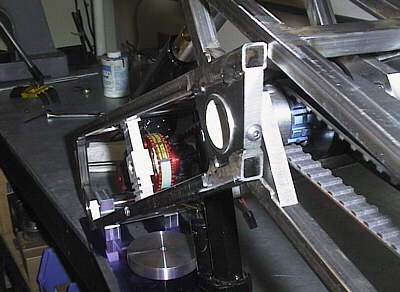
A couple of shots of me with The Arm. It's extended quite a bit higher than normal as I mount the lower linear actuator to the base plate. I wasn't sure which actuators I'd end up using until I got the engineering data on the ones from Warner Electric. Plus they're cheap! |
 |
Close shot of the experimental baseplate that mounts The Arm to the Alexander's frame. That pair'o'sqaure things off left are the abandoned pillow blocks from last month. (Glad none of you took me up on that $5 offer for them.) The circular part in the middle is being used to size the attachment point to the pan bearings. The black devices are the linear actuators that move the two segments of the arm. They are pretty neat, weighing in at only 1.5 lbs. and producting 75 lb. of thrust over a 4" throw at 12 volts. |
 |
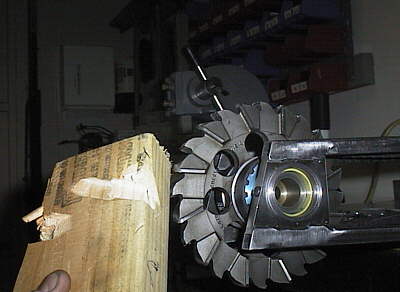
I knew the forearm segment had to be really rigid. Without going nuts (mechanically speaking) that requirement eliminated movable centers for the belt drive. So I had to fab some small idlers that would be adjustable and take up the slack in the final drive belts. Here it is being turned from a nylon rod. I pressed some small German bearings (left over from the Ag!) into the cores for minimum drag. |
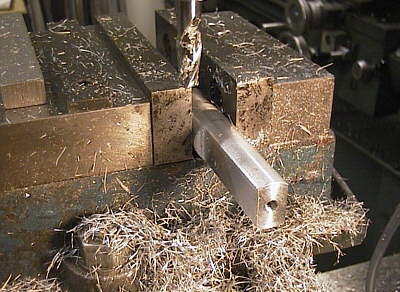 |
Machining up the arm extension for the top actuator. Sorry, I just realized that there is no picture that shows this installed. I'll fix that next month.. |
 |
The "elbow" joint in this design is the most complex. Not only does it provide an rotation bearing for the forearm, but one of the power transmission axles spins down the center as well. Tricky. Alignment was tough but after it all sync'd, I clamped it and screwed it together. Solid. |
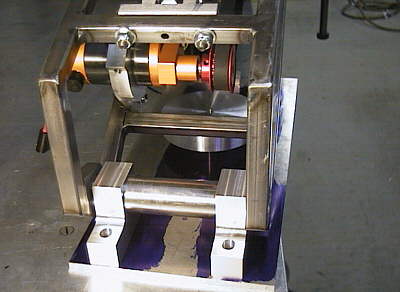 |
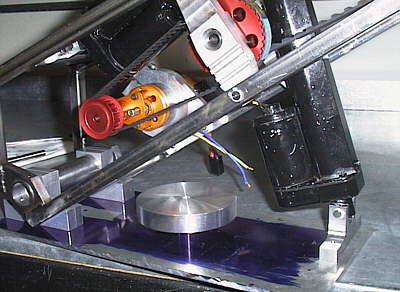
View from the rear. The gold and black item is the Astroflight motor. It pumps out over a horsepower (at 22 volts) into the cutter. Designed to replace gasoline engines in RC airplanes, this sucker was designed to be cooled by propeller backwash through the motor case. That red pully just isn't cutting it airflow-wise. But I planned for this; this month I install the active cooling system, where I pipe cold CO2 through the motor casing and through the power transmission bearings up the arm. You can actually see the efficiency decrease (current draw increase) as the bearings heat up. Well, we can't have that! And yes, it is bolted down now. |
 |
I did a quick experiment with a 2x4. See the sawdust? That's 2 seconds worth of cutting. And it's smooth!. |
 |
Blade + spin = damage. Simple. Great on Aluminum, too.. |
 |
And now a special treat. If you're using a browser that supports Java, you can control your own private robot arm! Although it doesn't have a cutting head on the end, it is pretty darn cool to play with. Click on the graphic image at left to load that page and run the simulator. If you really like it, please take a second and tell the author so: Jamie Cansdale jamie@obsolete.com |