| Home > Robots > Agrippa > Final / Event 1999 | |
| Final / Event 1999 | |
![[Event]](levt.gif)
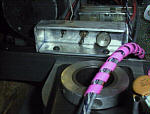 |
I took some aluminum plate and folded up a master control box to house and protect the switches for the major subsystems: drive, steer and electronics. It opened toward the center pivot which is both accessable to humans while being a hard target to hit in the arena. The drive enable switch is a nice 75 amp push-pull type: push it in to disconnect the circuit. This makes it a good "emergency stop" switch. I sell these in the electronics part of my website. |
 |
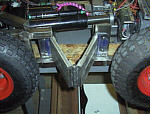 |
In a sudden burst of cleverness I figured out how to armor that pivot joint with a hinged assembly - it stretches flat or gets pointy depending on the steering angle. The magnesium plates are 0.400" thick and the hinges are steel. | |
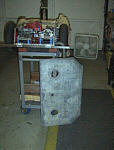 |
Where do you get thick Mg plate? Well for me the least expensive method was to buy it surplus and mill it down to size. At only $3/lb. it was a good deal even though the pieces were irregularly shaped and some had holes in the middle. But it was thick - 0.75" thick! | 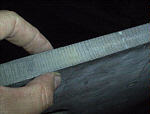 |
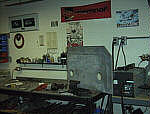 |
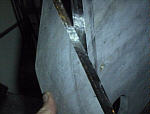
How do you cut thick Mg plate? Plant it in the vise and lay into it with the Sawzall. And no it doesn't "create its own oxygen" when it burns so I wasn't worried about putting out any fires with a bucket of sand. It is a strange metal to work with though - it's very stiff, almost brittle. |
 |
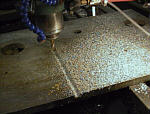 |
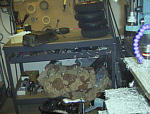
Clamped to the mill bed I'm making one side straight to form the basis for the remainder of my operations. | |
 |
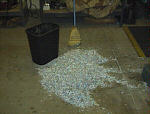
Chips are flying from the fly cutting operation. Steam rose from the cutter as I converted the really thick plate down to just pretty thick. In the end I filled this black waste basket three times with shavings, which are still everywhere in the shop. |
 |
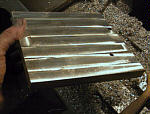 |
Done. This thick material was the basis for a "hybrid armor" I wanted to try out on rear electronics box - 3mm carbon fiber backed up by the magnesium plate, all shock mounted to the frame. The idea was to build something stiff that could absorb a few hits from a hammer weapon. | |
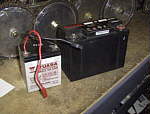 |
Also to note is that I swapped out the three Yuasa NPH4-12 batteries for a single Hawker GX13. In the process I saved a pound of weight, decreased my wiring and moved from thee 800mah chargers to a single 10AH charger - no limit on charging current for those Hawkers! | |
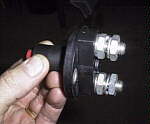 |
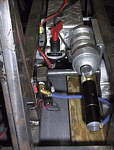
I also installed a keen Hella 250A disconnect for the LBW motor. You can buy these from West Marine and like their name suggests, they are hella cool. The safety disconnect was mounted in the front segment near the CO2 tank and its regulator. Its big red handle just screams "turn me in case of emergency." |
 |
  |
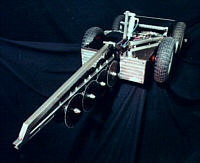 |
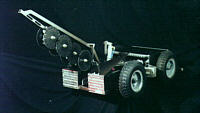
In the final version an air cylinder powered the LBW chopping motion, controlled by a foot switch wired to the R/C transmitter. I didn't have time to take any more construction pictures before the event but my friend Dean did have time for a last-minute photo shoot the night before. So here is the Agrippa before it tasted the bites of Ronin, Razer and Ginsu. |

| My friend Bob Pitzer helped me wheel the "car wreck formerly known as Agrippa" out of the arena on a gurney, where we assessed the damage. While I laughed at the incredible beating my robot took, Bob snapped some pictures. It didn't really sink into me until later when Mark Setrakian walked over, saw the inside of Agrippa and exclaimed "Holy Christ!" |
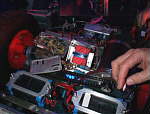
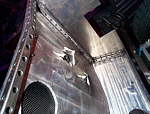
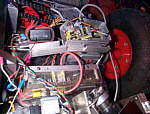
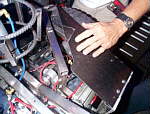
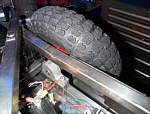
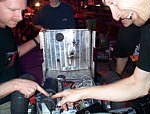
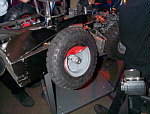
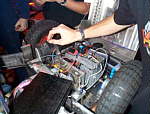
As you will read below, Agrippa did recover to fight one last time. But it took me twelve hard hours of work. During my repair marathon I received invaluable aid from the following fellow competitors, to whom I am quite grateful:
|
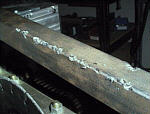
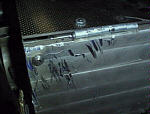
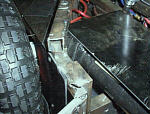
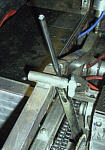
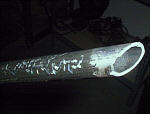
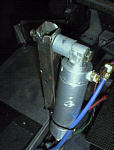
Now, here is what the Ginsu damage looked like back in the shop: |
So on to the first new robot of 2000! |