 |
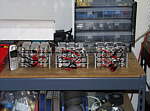
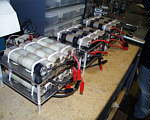
HAZARD was a giant rolling NiCad pack. Tony methodically extracted 2400mAh cells from cordless drill packs, matched them and then fastened them into "NiCad towers" which we used to run everything on the robot.
Each tower had 72 cells in it; two towers produced 86v at 4.8Ah to run the weapon motors and the other 21v at 9.6Ah for the four drive motors. |
 |
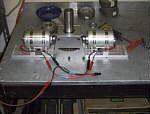 |
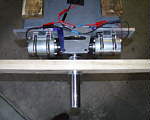
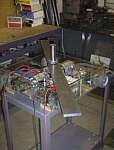
The weapon pod was done and we decided that a low inertia spin-up was in order. So we bolted it to the end of the build cart, slapped on a wood 2x4 with rubber friction washers and wheeled it outside, trying to get everything in place before the sun set. |
 |
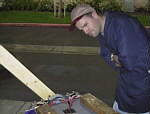 |
Tony inspects my handiwork; a second set of eyes and a cautious attitude are always welcome in a project like this. Launching that piece of wood through the neighbor's window would not go over very well.
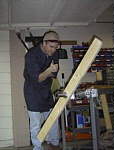
Tony gives it the green light! The test was a success in that none of the mechanics broke and we were able to measure some of the motor currents - 30A spin-up at about 80v. We were in the zone. |
 |
 |
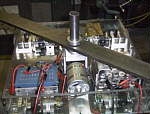
Now it was time to test it on the robot itself. The base was nearly finished with 3/8" thick Lexan panels for sides and installation of all of the drive motors, the Vantec and the battery towers. |
 |
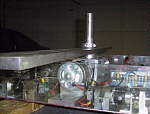 |
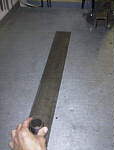
The blade was a 48" length of 4340 chromoly steel, chosen for its springy properties as well as its hardenability. The drive shaft was 1.50" dia. 4130 with a 0.200" thick wall.
The first plan was to use a rubber washer on either side of the blade to provide some slip during collision. That plan failed as the rubber either slipped and burned or bunched up and defeated the clutching action. |
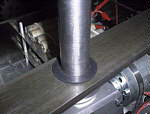 |
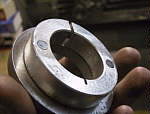 |
I machined up a wide flange for the blade to ride on. It was an aluminum shaft collar pinned to a plate of steel, all turned square. The blade weighed 22 lb. so I wanted to distribute the force evenly over whatever clutch material we ended up using. |
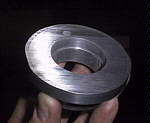 |
 |
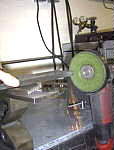
Then there was the whole issue of balancing the blade. I didn't have much experience with this and wanted to get it close as possible the first time - so I used a jig!
After clamping a stub of driveshaft to the bench I mounted a hand grinder in the vise and rigged it to always stay running. Now by slowly turning the blade past the grinder I could put a uniform radius on each end. |
 |
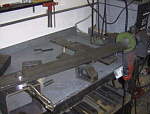 |
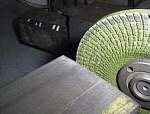
After taking a partial cut on each end I moved the grinder inward a small increment and repeated the process. The blade was 0.50" thick so there was a lot of material to remove and it made a terrible powdery mess in the shop.
But when I had finished the blade showed NO noticable imbalance when spinning at 1500 RPM. Success! |
 |
