 |
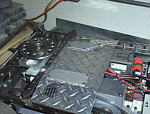
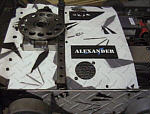
I played around for a week trying to get ahold of a lightweight air compressor to cool the drive motors. I experienced minimal success, and after running out of time I decided to simply mount a few more circulation fans above the motors and hope that they'll keep the internal temperature down. The core cooling lines for the motors will be bussed to an external port, where I'll have the option of precoooling them moments before the battle. These are before and after pictures of one of the armor plates. |
 |
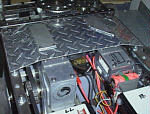 | Here is an internal shot of the Ax, showing how everything is layed out in the power transmission segment. The red bundle to the right is the PCM RC receiver wrapped in a shock blanket. This year I am again using a stubby RC helicopter antenna to get away from the 3' standard receiver antenna length. |
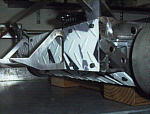 | The front bumpers are complete and the nose of the 'bot is now armored. | 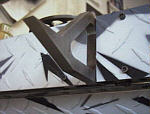 |
 | The second weapon the Ax sports is a rear tow cable that has a really mean bite to it. I ordered a box of road spikes that law enforcement uses to terminate high-speed car chases. Three of these will be strapped to an 8' tail of steel cable, able to be effectively whipped around behind the 20MPH Alexander. This assembly provides a servo-release of the cable in case it gets hung up. Thick diamond plate protects the rear body segment. |
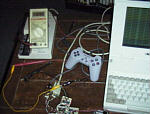 | Here is a really bad picture of my development setup for the interface board design. I've become a real fan of the Microchip PIC16C54 part, because for $10 you can get 12 IO lines and enough RAM/EPROM to get some great stuff done at 1uS per intstruction. Also, I'm pretty sure that I'm the only guy around that has a PlayStation hand controller with a DB-9 connector on it. |
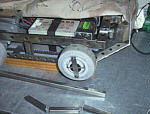 | Here I'm beginning to cut and weld together the first guard rail that protects the wheels. The sand camo cloth on the Ax keeps crud out of the interior as I weld and grind on my single workbench that has (suddenly) become too small. | 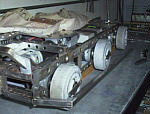 |
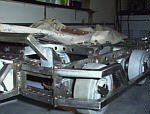 | Done. The dual rails at the front extend the bumper protection over the wheel since the preferred mode of ramming is forward. In its final form the rail is painted flat black which also helps hide some of my more questionable looking welds. The rail also provides a convenient carrying handle! | 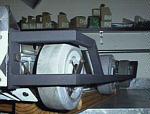 |
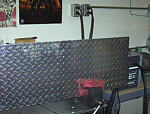 | I buy diamond plate in big sheets from the metal yeard. Cutting it into manageable chunks can be a bit awkward at times, but with my trusty Sawzall, the job gets done. |
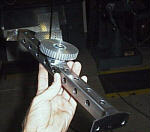 | After seeing the cool bearing that Dave gave me, I had this wild idea on Sunday: build another pneumatic punch weapon. I figured I had and extra 5 lbs. of weight budget to blow on it, so I machined a few parts and started weighing them. It'll be a record weapon, built completely from scratch in 5 days, including the microprocessor control. To save some money, I bagged a few spare parts from last years Ag project. This is a shot of the support spar. More pictures and details next month. |
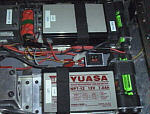 | Here is a bit on the internal layout of the Ax. The batteries are stowed rearward to counterweight the overhung load of the Edger. There are three separate power systems onboard: the two big Yuasa batteries drive the traction motors, one for each side. There are three sets of nicad packs behind them (with green stickers) that power the Edger's cutting motor (18 cells). And threre is a smaller 12v gel cell wedged between the large gel cell and nicad pack in the upper right. It powers all the onboard electronics and fans.
|
![[June]](or-jun.gif)
